Home Recording Session Checklist: Set Up Right Before You Hit Record

On this page
Why 15 Minutes of Setup Matters
A great take ruined by a buzzing cable or a clipped vocal is one of the most frustrating things in home recording. Fifteen minutes of checks before you press record can save you hours of re-tracking later. Work through this list top to bottom, tick the boxes, and then focus on the music.
Before You Open the DAW: Gear Check
Your DAW (digital audio workstation, the recording software on your computer) can only capture what your hardware delivers, so start with the physical setup.
- Connect the audio interface and make sure the computer recognizes it
- Test every cable you plan to use. Wiggle each connector while monitoring and swap out anything that crackles.
- Have spare cables within arm’s reach
- Check headphones for both ears working and a comfortable volume. Closed-back headphones leak less sound into the mic.
- Tighten mic stands so nothing droops mid-take
- Fit a pop filter about 8 cm (3 inches) in front of the vocal mic to tame plosives (the bursts of air from “p” and “b” sounds)
- Turn on phantom power only for condenser mics that need it
DAW and Session Setup
A tidy session makes recording faster and mixing much easier.
- Name the session clearly with the song title and date (e.g., “Highway_Song_2024-06-01”) and save it in a dedicated project folder
- Set the sample rate, which is how many times per second the audio is measured. 44.1 kHz or 48 kHz is fine for most projects. Pick one and keep it consistent across the whole project.
- Set a low buffer size for tracking. The buffer is the chunk of audio your computer processes at once. Smaller buffers (64–128 samples) reduce latency, the delay you hear between playing and hearing yourself.
- Turn on direct hardware monitoring if your interface offers it, which avoids latency entirely
- Create and name every track before recording (“Kick,” “Bass DI,” “Lead Vox”) instead of leaving them as “Audio 1, Audio 2”
- Group tracks by type and color-code them (for example, drums blue, guitars red)
- Confirm routing, meaning each track’s input matches the correct interface input
- Set up a headphone mix so performers hear what they need
- Set the click track tempo if you’re using one
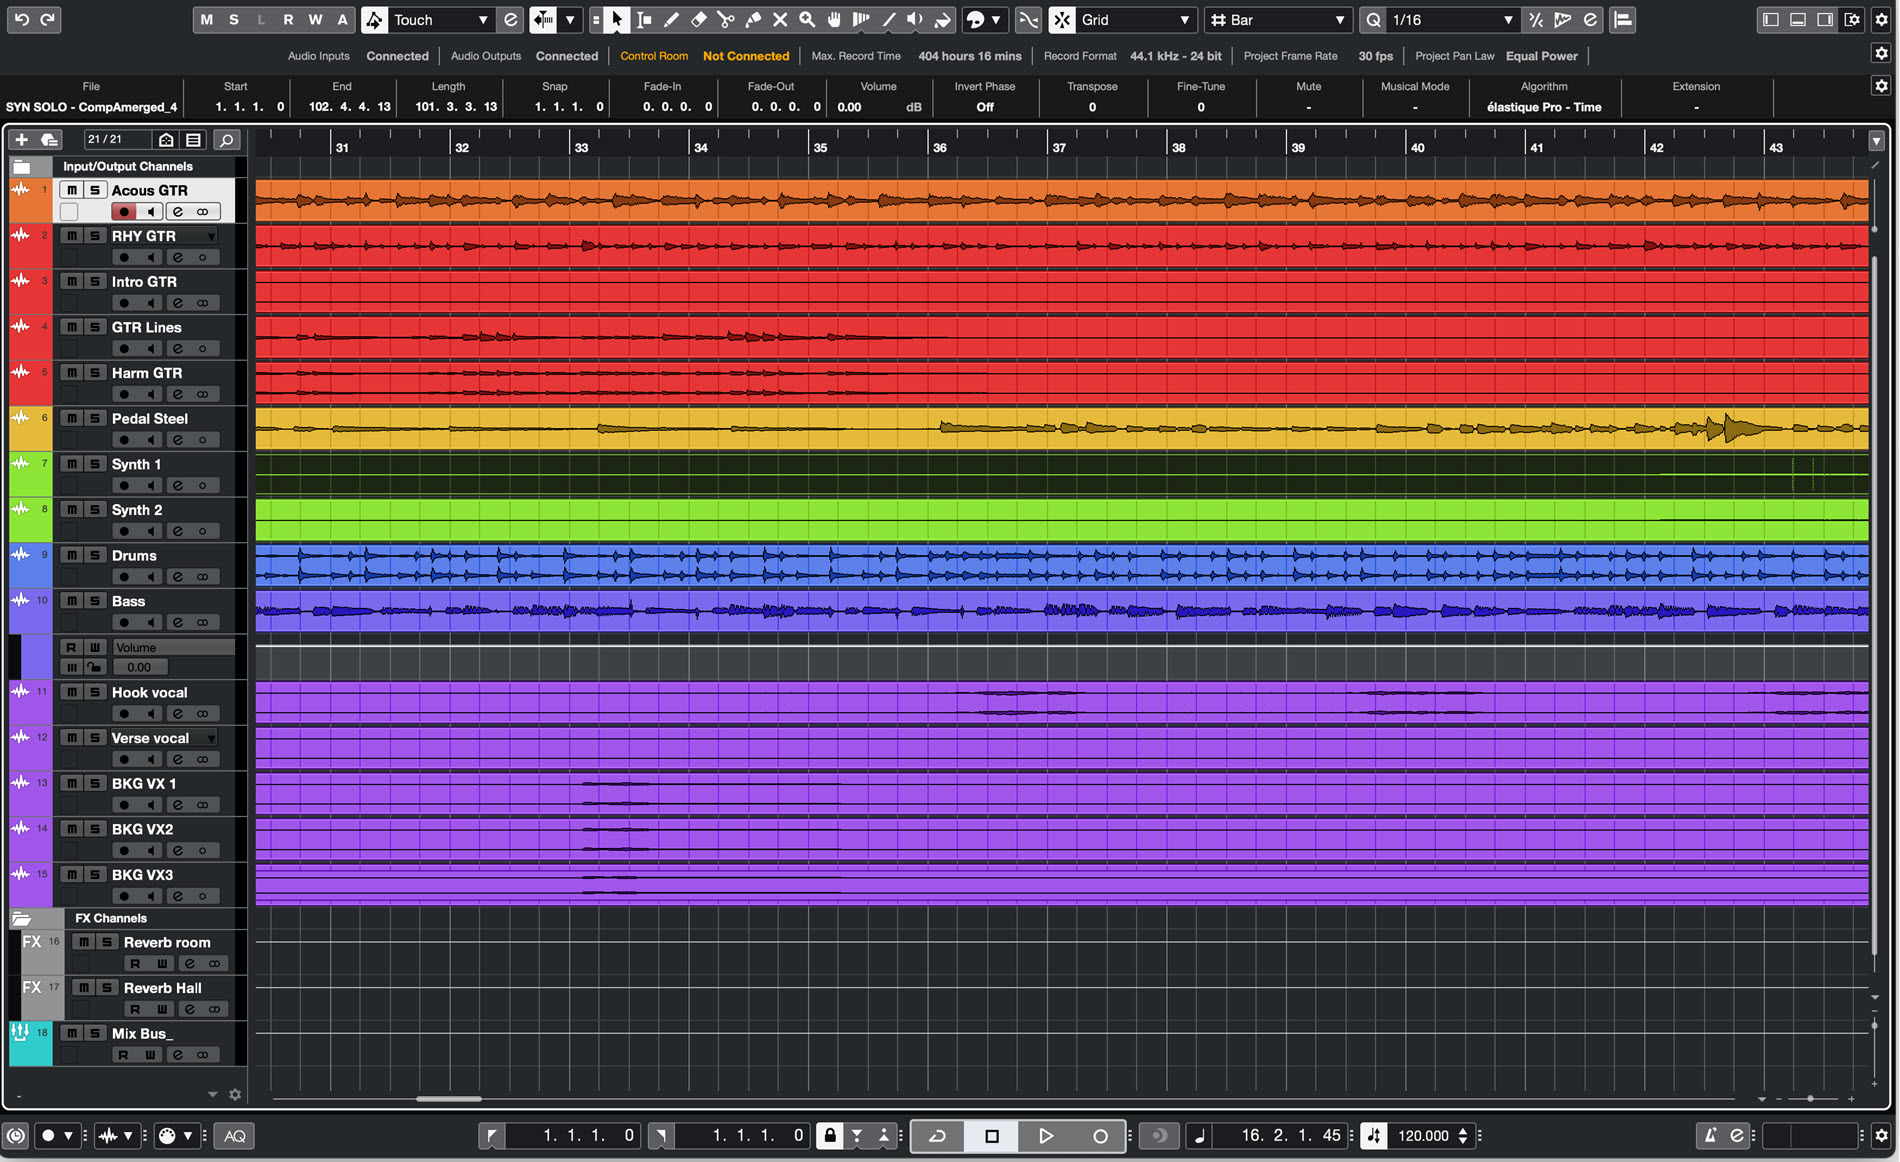 Via hub.yamaha.com
Instrument Prep
Problems at the source never get fixed in the mix, so get them sorted now.
- Tune every instrument, then re-check tuning between takes
- Put on fresh strings if the old ones sound dull. Play them in for a while first so they stretch and hold pitch.
- Check drum heads and tuning, and silence squeaky pedals or rattling hardware
- Decide between amp and DI for guitar and bass. A DI (direct input) box sends the instrument’s clean signal straight to the interface. Many players record both, so they can re-amp or change tones later.
- Gain stage each input. Gain staging means setting input levels so the signal is strong but never distorts. Aim for the loudest parts to peak around -12 to -6 dBFS (decibels relative to full scale, the digital maximum).
- Adjust the interface gain knob, not the track fader, if meters hit the top
- Soundcheck at performance volume, because players almost always get louder once the real take starts
Room and Acoustic Prep
Microphones hear everything, including noises you’ve stopped noticing.
- Put phones on silent, not vibrate, and do the same for smartwatches
- Close windows and doors
- Switch off HVAC, fans, and the fridge if it’s nearby. Set a reminder to turn the fridge back on!
- Listen for ticking clocks and move them out of the room
- Move the computer away from the mic or point the mic away from it, since PC fans are a common hum source
- Reduce reflections by hanging a duvet or using soft furnishings, and keep the mic at least 60 cm (2 feet) from bare walls
- Record 10 seconds of “silence” and listen back on headphones to catch background noise
- Keep sightlines open for band sessions so players can see each other’s cues
Recording Workflow Checklist
Build the song in layers. Each step gives the next one something solid to lock onto.
- Record a guide take first. This could be a click plus a simple guitar or piano part and a scratch vocal (a rough placeholder vocal so everyone knows where they are in the song).
- Track the rhythm section next: drums, bass, and a chordal instrument. Recording them together captures groove and feel.
- Watch for bleed when tracking together. Bleed is sound from one instrument leaking into another’s mic, and it makes later fixes harder.
- Add overdubs (parts recorded on top of existing tracks) such as lead guitar, keys, and percussion
- Record vocals last, once the arrangement is settled
- Capture two or three full takes of key parts rather than endlessly punching in
- Keep notes on which takes are best as you go
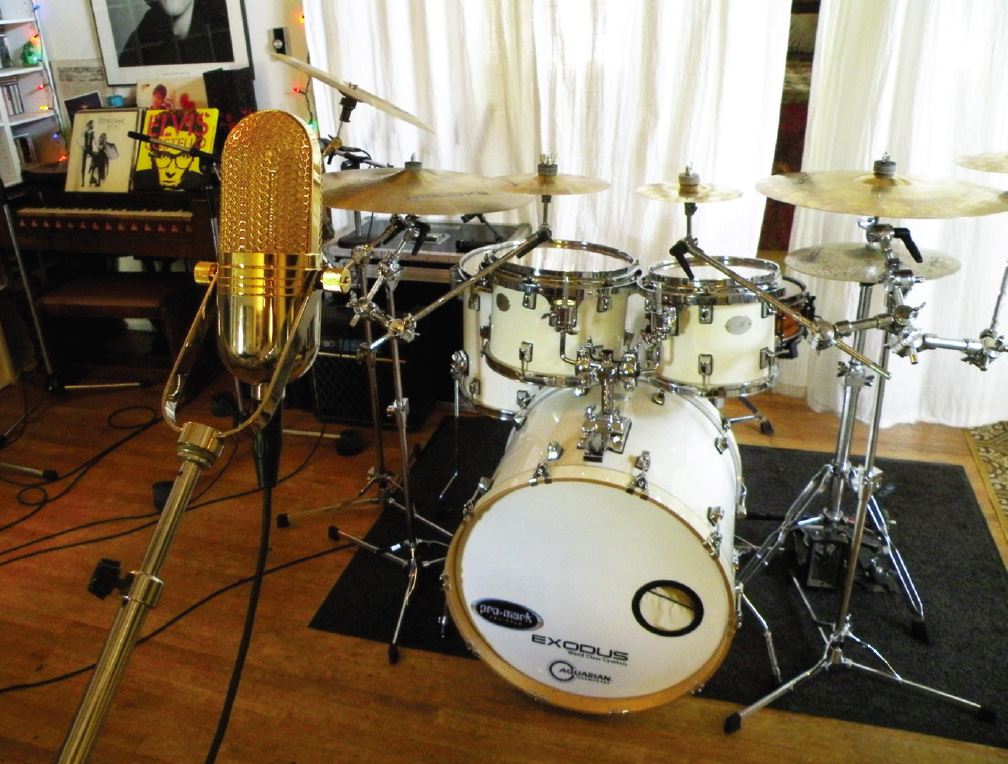 Via recordingmag.com
After the Session
The session isn’t finished until your files are safe.
- Save the project, and use incremental saves (Song_v1, Song_v2) so you can roll back
- Back up the raw audio files to an external drive or cloud storage, ideally both
- Raise the buffer size (512–1024 samples) before mixing so your computer can handle more plugins
- Solo each track briefly to catch glitches, coughs, or pick noises while the session is fresh
- Bounce a rough mix for reference. “Bouncing” means exporting your tracks into a single stereo file. Start with faders at unity, everything panned center, then balance by ear.
- Export a 24-bit WAV for archiving and an MP3 for sharing with bandmates
- Listen on phone speakers and earbuds, since that’s where most people will hear it first
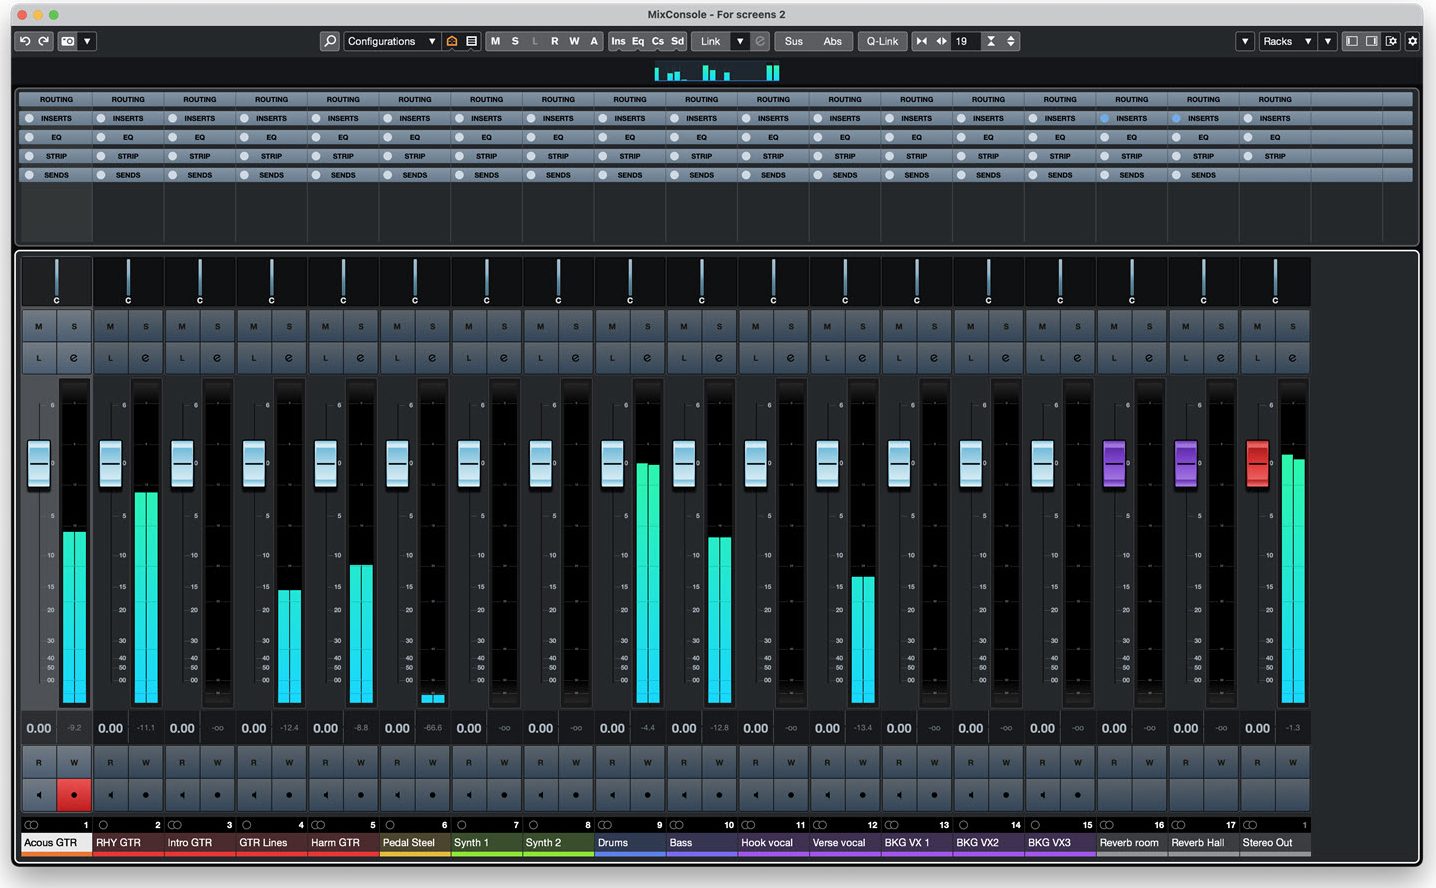 Via hub.yamaha.com
Sources
Record Your Band At Home, Sven-Erik Seaholm, Recording Magazine
How to Record a Demo at Home, Violet Recording Editorial Team, Violet Recording
Top 10 Mixing Tips, Mike Levine, Yamaha Music (hub.yamaha.com)