Recording Glossary: Essential Terms for Your First Sessions

On this page
Quick jump: Bleed · Buffer Size · Click Track · Comping · DAW · DI · Headroom · Interface · Latency · Level / dBFS · Mic Placement · Overdubbing · Punch-In · Scratch Track · Signal-to-Noise Ratio · Tracking
Why the Vocabulary Matters
Recording tutorials move fast, and a single unfamiliar word can turn a five-minute video into an hour of confused searching. Once you know what the common terms mean, you can follow advice, troubleshoot problems, and ask better questions. Here are the terms you’ll hear most during your first sessions, in alphabetical order. Where a definition relies on another technical word, that word is explained too.
The Glossary
Bleed
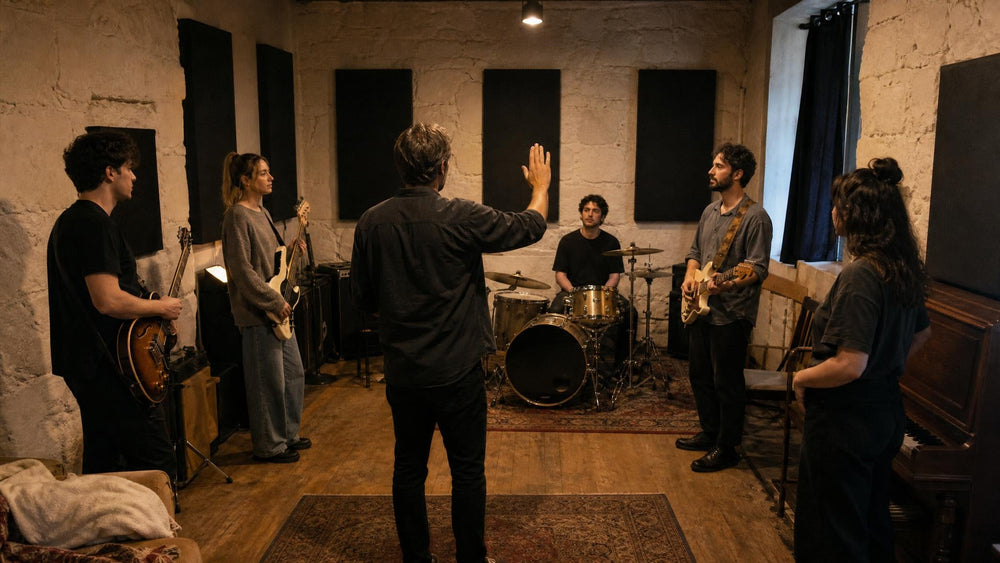
Bleed is sound from one instrument leaking into a microphone meant for a different instrument, such as cymbals showing up in the vocal mic. It isn’t automatically bad. A little controlled bleed can make a band sound cohesive, but too much makes everything muddy and stops you from fixing one part on its own later. You’ll run into it whenever several people play in the same room at once, and you’ll manage it with mic angles, distance, and blankets or other barriers.
 Via violetrecording.com
Buffer Size
Your computer processes audio in small chunks instead of one sample at a time. A sample is a single tiny snapshot of the sound, taken thousands of times per second. The buffer size is how many samples go into each chunk. A small buffer (around 128 samples) gives quicker response but works your computer harder. A large buffer is easier on the computer but adds delay. You’ll adjust it in your recording software’s settings, usually because you hear crackles (raise it) or a distracting delay in your headphones (lower it).
Click Track
A click track is a steady metronome beat played into the performers’ headphones so everyone keeps the same tempo. It makes editing and layering parts much easier, because every take lines up with the same grid. Some bands find it stiff and prefer to follow the drummer instead. You’ll decide whether to use one at the start of almost every session, especially if you plan to add parts later.
Comping
Comping, short for “compiling,” means building one final performance from the best pieces of several takes. A take is one recorded attempt at a part. For example, you might use the first verse from take two and the chorus from take four. You’ll do this during editing, after you’ve recorded a few passes of a part and none of them is perfect from start to finish.
DAW (Digital Audio Workstation)
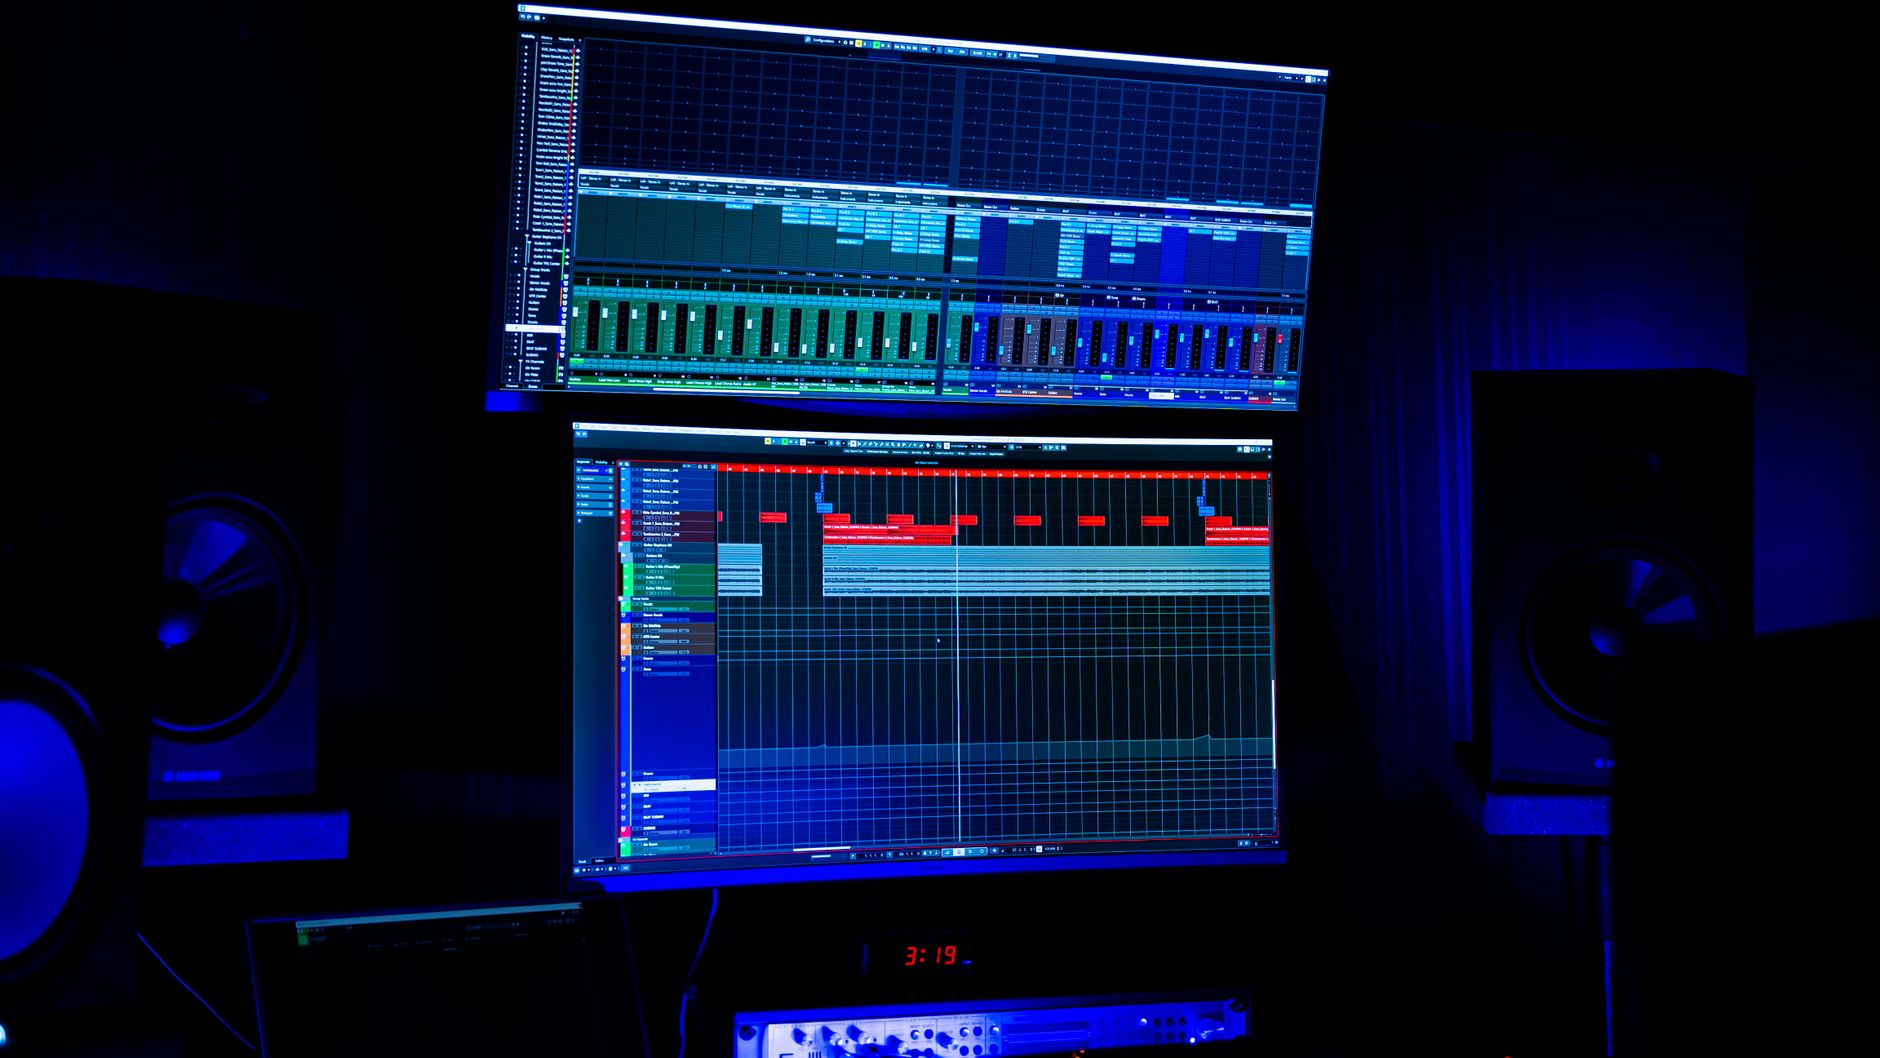
A DAW is the software on your computer where you record, edit, and mix audio. It shows your recordings as tracks laid out along a timeline, a bit like lanes on a road, so you can see and rearrange every part of the song. You’ll encounter it immediately, because nearly every home recording tutorial assumes you’re working inside one.
DI (Direct Injection)
DI means plugging an instrument like a bass or electric guitar straight into your recording setup instead of putting a microphone in front of an amplifier. The result is a clean, uncoloured signal that ignores your room entirely, and you can shape its tone later with software. Many interfaces have a special instrument input (often labelled “Hi-Z”) for this. If yours doesn’t, a small device called a DI box does the same job. You’ll use it most often for bass, which is why most home bass tracks are recorded direct.
Headroom
Headroom is the safety margin between your loudest sound and the maximum level your system can handle. If a signal goes past that maximum, it clips: the top of the waveform gets chopped off, producing harsh distortion that can’t be repaired afterward. Leaving room for unexpected loud moments, like a hard drum hit, protects your take. You’ll think about headroom every time you set recording levels.
Interface
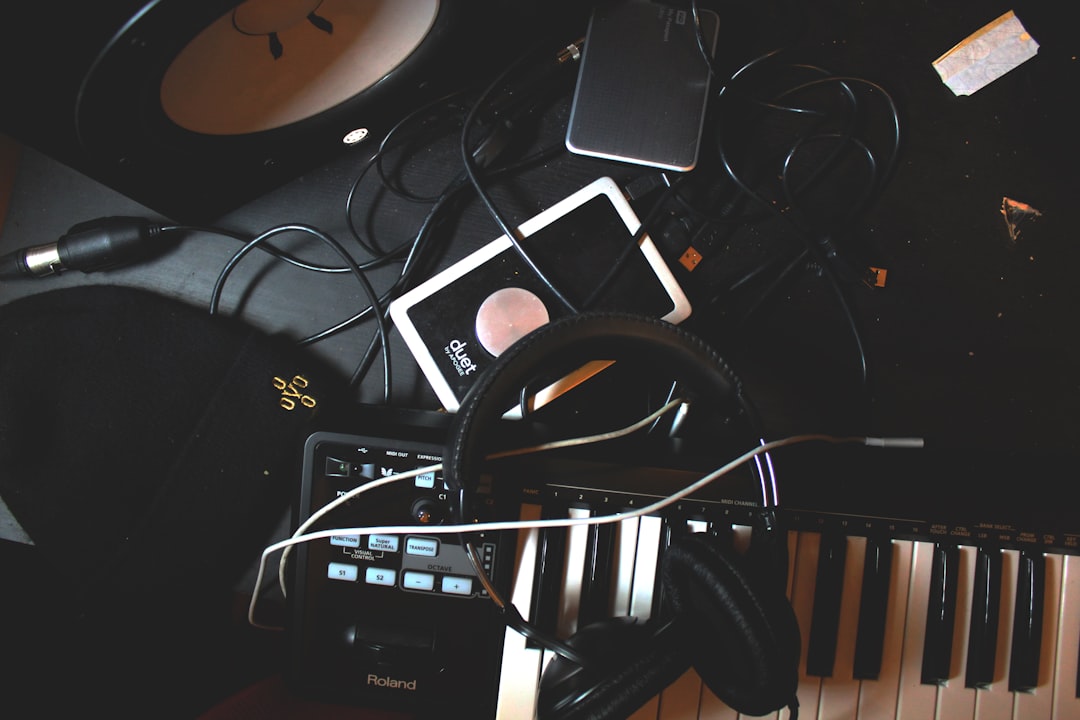
An audio interface is the box that connects microphones and instruments to your computer. It converts the sound into digital data the computer can store, and converts it back so you can hear it through headphones or speakers. It’s also where you’ll find the input knobs (gain) that set how loud each signal is recorded. You’ll deal with it the moment you plug anything in, and many setup problems trace back to using the wrong input on it.
Latency
Latency is the delay between making a sound and hearing it back through your headphones. Even a small delay can throw off your timing, especially when you’re listening through software effects such as amp simulators, which are programs that imitate the sound of a guitar or bass amp. You can reduce it by lowering your buffer size or by using your interface’s direct monitoring feature, which sends your input straight to your headphones before it reaches the computer. You’ll notice it as soon as you try to play along with a track and something feels “late.”
Level / dBFS
Level is simply how loud a signal is. In digital recording it’s measured in dBFS (decibels relative to full scale). On this scale, 0 dBFS is the absolute ceiling, and every level below it is a negative number. Common advice is to aim for peaks around -12 to -6 dBFS, which leaves healthy headroom. You’ll see dBFS on the meters in your DAW and interface whenever you set up a new track.
Mic Placement
Mic placement is where you position a microphone and which direction it points, and it shapes the recorded sound as much as the mic itself. Moving a mic a few centimetres closer, farther, or off-centre can change the tone noticeably. Angling a mic’s “dead” side toward an unwanted sound can also reduce bleed. You’ll experiment with placement whenever you record anything acoustic, such as vocals, drums, or an amplifier.
Overdubbing
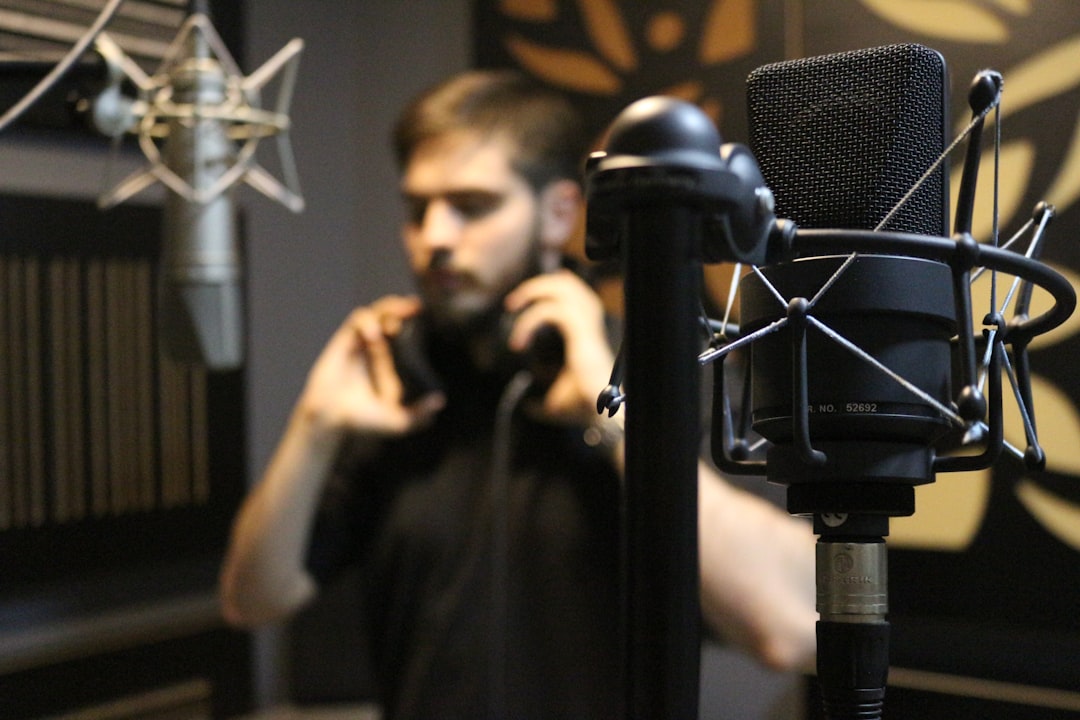
Overdubbing is recording a new part on top of tracks you’ve already recorded, while listening to them in your headphones. It’s how one person can play every instrument on a song, and how bands add solos or harmonies after recording the main rhythm parts. You’ll use it constantly in home recording, since most home sessions build a song one layer at a time.
 Via violetrecording.com
Punch-In
A punch-in is re-recording just a short section of an existing track, such as one flubbed line, while keeping the rest. The DAW plays the track normally, switches to recording at the point you choose, then switches back. It works best when each instrument was recorded separately. If other instruments bled into the mic, a punched-in fix won’t match its surroundings. You’ll use it when a take is nearly perfect except for one mistake.
Scratch Track
A scratch track is a quick, rough recording that serves as a guide for everyone else and isn’t meant for the final song. A scratch vocal, for instance, helps the band follow the song’s structure and is replaced later with a cleaner overdub. You’ll record one early in a session whenever musicians need a reference to play along with.
Signal-to-Noise Ratio
Signal-to-noise ratio compares the sound you want (the signal) to unwanted background sound (the noise), such as hiss, hum, or room noise. A higher ratio means a cleaner recording. Modern digital equipment adds very little noise of its own, so you don’t need to record dangerously loud to stay well above it. You’ll consider it when deciding how much gain to use, and when a quiet passage reveals hiss or a humming fridge.
Tracking
Tracking is the stage of recording where you capture the performances, as opposed to editing or mixing them later. You might track everyone together live in one room, or track one instrument at a time. People often say “we’re tracking drums today” to mean recording the drum parts. You’ll hear this word in nearly every tutorial, because tracking is where your session begins.
Putting It Together
These terms connect. A typical first session involves setting levels on your interface with enough headroom, choosing a buffer size that keeps latency low, tracking to a click with a scratch vocal for guidance, then overdubbing, punching in, and comping until you have keeper takes. Knowing the vocabulary won’t make you a better player, but it will make every tutorial you watch easier to follow.
Sources
How to Record a Band Live in One Room, Violet Recording Editorial Team, Violet Recording
A Beginner’s Guide to Miking Drums, Bruce Kaphan, Recording Magazine
How to Record Bass Guitar, Violet Recording Editorial Team, Violet Recording