Run a one-song pressure test before your next performance

On this page
What a one-song pressure test is
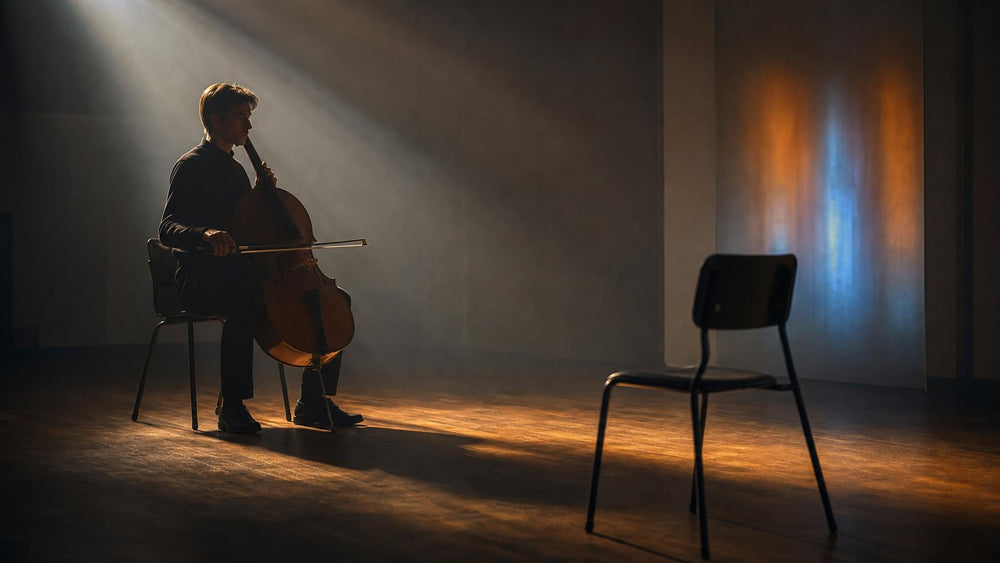
A one-song pressure test is a short mock performance. You pick a single piece and play it as though the real event were happening right now. The piece might be an audition excerpt (a short passage the panel asks you to play), a recital number, or the key tune in your first set. The aim is to find out whether the piece holds up outside the comfort of ordinary practice.
It isn’t a lesson, a warm-up, or a chance to fix things as you go. It’s one attempt, treated as the real thing, followed by an honest look at what happened.
Why knowing the notes isn’t enough
Plenty of players can get through a piece cleanly at home. That’s a good start, but it covers only part of what a performance demands. On stage or in an audition room, you also have to:
- walk in and get settled
- choose the tempo yourself and commit to it
- start without a second try
- stay present after a mistake instead of spiraling
- finish the piece like you meant to
Normal practice rarely trains any of these. At home you can stop, rewind, and restart whenever you like. You can play the hard bar five times in a row until it behaves. That freedom is great for learning a piece, but it hides problems that only show up when a restart isn’t allowed. The pressure test exposes them while the stakes are still low.
 Photo by Pavel Danilyuk / Pexels
Setting up the mock performance
Preparation is short, but it matters, because the whole point is to make the situation feel different from a normal run-through.
Pick one piece. Choose the one you’re most worried about, or the one that matters most. Don’t turn this into a full-program rehearsal. Keeping it to a single song keeps the pressure concentrated and the feedback clear.
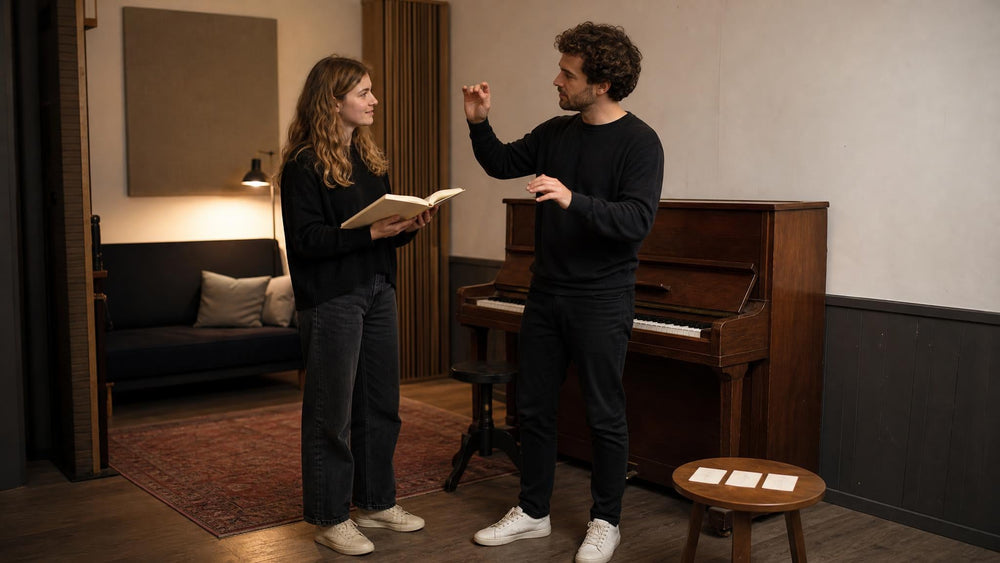
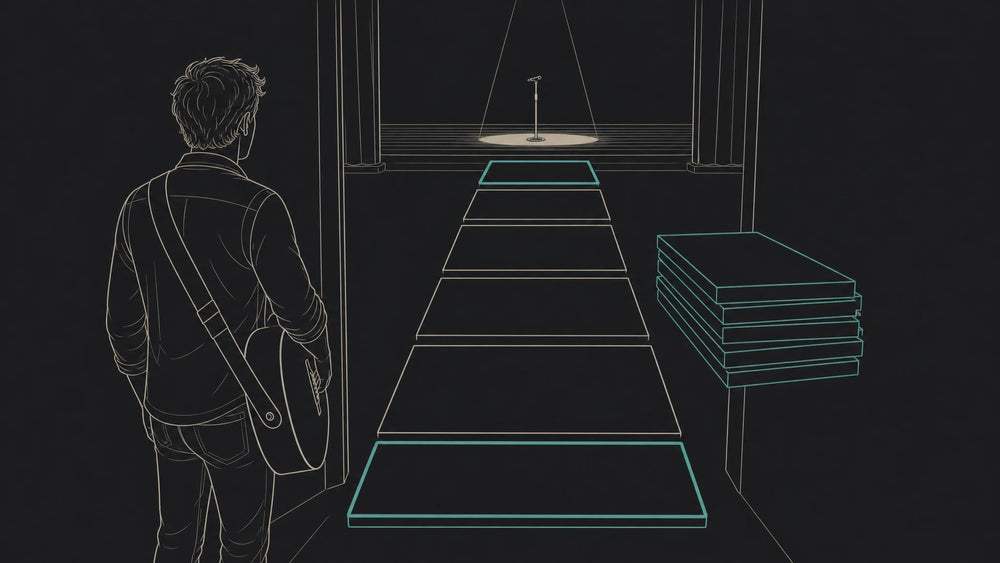
Change the room’s feel. Don’t start from your usual practice spot with the music already in front of you. Begin outside the playing area if you can. Stand up, put your instrument in position, and treat the first few steps as part of the performance. If a stand, a chair, or a mic is involved in the real event, set it up the way you will find it on the day.
Decide your rules in advance. The main rule is simple: no stopping and no restarting. Decide that before you begin, so you aren’t negotiating with yourself halfway through. If you want a record, set up a way to capture the take, such as an audio or video recording. Press record, then walk away from the device so you aren’t tempted to manage it.
Name your tempo before you play. The tempo is the speed of the piece, and in a real performance nobody sets it for you. Decide your speed before you start and hold it in your head. Count yourself in, or use your usual method for landing the first note at the right pace. Remember that nerves tend to push the first few bars off course, so a clear internal pulse at the start is worth rehearsing.
Running the take
When you’re ready, go through the whole sequence, from entrance to finish.
- Enter. Walk in as you would for the real thing. Don’t rush the first step into playing.
- Settle. Take a moment to get your posture, grip, and breathing in order. This pause is part of the performance, so practice it.
- Set the tempo. Give yourself the count-off, then start. Once the first note is out, you’re committed.
- Play through. Keep going, whatever happens.
- Finish. Hold the last note or gesture for its full length, and don’t signal that you’re done by dropping your shoulders or reaching for the next thing.
The hardest part for most people is simply not stopping. You’ll feel the urge to retry a wobbly phrase. Resist it. In a real performance there is no do-over, and learning to keep moving is a skill in itself.
 Photo by cottonbro studio / Pexels
Handling slips
You will probably make at least one mistake, and that’s useful. The test isn’t checking whether you stay perfect. It’s checking what you do next.
Notice your reaction in the moment. Do you freeze? Speed up? Wince, or let your face show that something went wrong? Each of those is a habit, and habits can be changed once you’ve seen them.
The practical goal is a fast recovery. Rejoin the music at the next beat or phrase and leave the missed note behind. Dwelling on one slip usually creates a second and third. Players who treat a wrong note as already gone tend to finish far more cleanly than those who keep replaying it mentally.
If a slip genuinely derails you, that’s your most valuable finding. It tells you exactly where to rehearse your recovery. Try practicing from the spot where it happened, and also practice jumping back in at nearby entry points, so you have more than one way to rejoin the piece.
Finishing and reviewing
Finishing like you meant to finish is easy to overlook. Many players relax the instant the last note ends, or apologize with a look or a shrug. Practice a clean ending: let the final sound ring out, hold your position for a beat, and then lower your instrument deliberately. It signals confidence to an audience, and it keeps you from undoing a good performance in its final second.
Afterward, review the take while it’s fresh. If you recorded it, listen back, and ideally watch it too. Ask yourself a few plain questions:
- Was the starting tempo what I intended, and did it stay steady?
- Where did I slip, and how quickly did I recover?
- Did my entrance and my ending look and feel deliberate?
- Which spot would I most want to fix before the real performance?
Pick one or two items to work on rather than trying to repair everything. Go back to normal practice for those spots, then run the test again. Repeating the drill is how you find out whether your fixes work under pressure instead of only in a relaxed practice room.
Used this way, the one-song pressure test is a small, honest rehearsal of everything surrounding the music. By the time the real moment arrives, the entrance, the count-in, the mistake you didn’t panic about, and the ending will all be things you’ve already done before.
Sources
Run a one-song pressure test before your next performance, www.soundbrenner.com