How to Set Up Your Drums for Recording

On this page
Why Drums Need the Most Prep
Of all the instruments you’ll track in a home or rehearsal-room session, drums demand the most preparation. A drum kit is several instruments at once: kick, snare, toms, hi-hat, and cymbals, all played by one person and all sharing the same air. Every rattle, buzzing lug, and out-of-tune head goes straight into the microphones.
As Steve La Cerra points out in Tape Op, engineers obsess over mics and preamps, but the real difference in drum recordings happens before you plug in a single cable. A kit that sounds bad in the room will sound bad on the recording, and no plugin will fully rescue it. The good news is that most of the fixes are cheap and need only a drum key, some patience, and your ears.
Hardware Check: Edges, Lugs, Rattles, and Squeaks
Bearing edges
The bearing edge is the top (and bottom) rim of the drum shell where the head rests. La Cerra compares it to the bridge of a guitar: it has to support a vibrating element without getting in the way of its motion. A damaged edge can cause buzzes, dead spots, and drums that never quite stay in tune.
Older drums tend to have rounder, wider edges, and later designs went sharper and narrower. Both styles work, as long as the edge is true, meaning flat and undamaged.
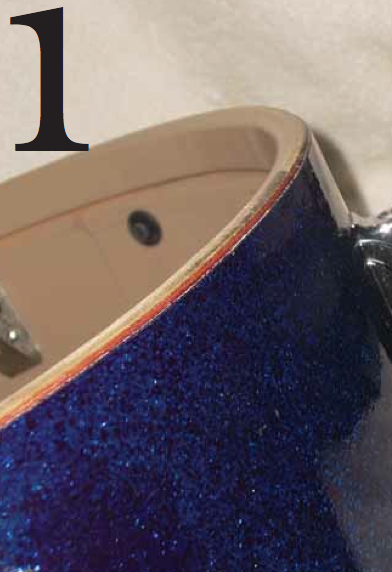 Via tapeop.com
To check an edge:
- Remove the rim and head.
- Set the drum on a flat sheet of glass.
- Slide a piece of plain writing paper against the edge all the way around. The edge should stop the paper from slipping underneath. The exception is the snare beds, the shallow dips cut into the bottom edge of many snare drums so the snare wires sit flush.
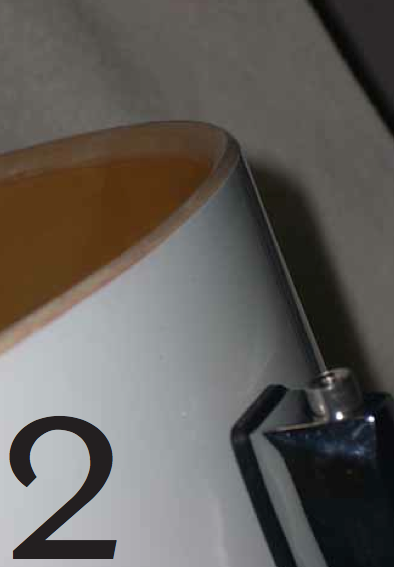 Via tapeop.com
If an edge is dented or warped, your options are to have it re-cut by a drum shop or to replace the drum. While the head is off, check that the shell hasn’t gone out of round (slightly oval), which makes tuning very difficult. La Cerra also suggests rubbing a household candle lightly along a healthy edge. The thin layer of wax helps the head move freely.
Lugs and fittings
Lugs are the metal housings on the outside of the shell that the tension rods screw into. Many lugs contain a small threaded nut held in place by a spring or plastic insert, and these parts can rattle. A simple fix from La Cerra’s article is to pack each lug with a little cotton or foam to stop the rattle. Do the same for tom-arm mounts and floor-tom leg brackets.
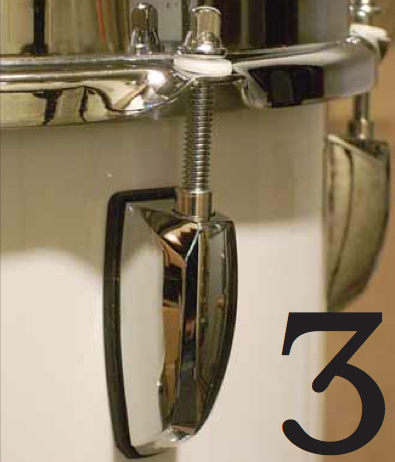 Via tapeop.com
While you’re inside the drum:
- Tighten every screw and bolt. Lock washers help stop them from working loose.
- Add only a tiny drop of lubricant to the tension-rod threads. The drum relies on some friction to stay in tune.
- Make sure no lug nuts are missing, and look for cracks in the shell.
- Consider removing any built-in internal muffler. These can rattle and alter how the head vibrates.
Finding the noises
With the kit reassembled, hit each drum at performance volume while a bandmate walks around it and listens closely. Common culprits include squeaky kick-pedal springs (a little lubricant fixes this), loose cymbal-stand wing nuts, tom arms touching each other, and snare wires buzzing in sympathy with the toms. Find each noise now. It’s much harder to hear once you’re wearing headphones.
Tuning
Bruce Kaphan, writing in Recording Magazine, recommends new heads if time and money allow, because fresh heads are easier to tune evenly. Whatever heads you have, use the same basic method on every drum:
- Tune evenly. Tap about an inch in from each lug and adjust until the pitch matches all the way around.
- Tune through the sweet spot. Kaphan suggests going from too low (floppy), past the drum’s best-sounding pitch, to too high (choked), then settling back into the sweet spot. This stretches the head so it is less likely to drift flat later.
Snare
Aim for a snare head with enough tension to give a crisp, articulate attack, but not so tight that it sounds like a pinging tin can. A snare that is too loose sounds flabby and gets lost in a mix. A snare that is too choked has no body. Set the snare wires just tight enough to respond cleanly. If the wires are too tight, the drum sounds strangled. If they are too loose, they buzz for ages after each hit.
Kick
Many kicks have an airhole (or port), a hole cut in the front resonant head, the head you don’t hit. The airhole lets air escape for a punchier attack and gives you a convenient spot for a microphone. Keep damping minimal. A small pillow or folded blanket lightly touching one or both heads is usually enough to control the boom. Stuffing the shell full kills the tone you’re trying to capture.
Toms
Toms are largely to taste. Kaphan notes that tuning both heads to the same pitch gives the most even, robust tone. Tuning the bottom head tighter than the top produces the pitch-drop “bwow” effect. He prefers no muffling on toms when the drums are well tuned. Unless a song features a prominent tom pattern, don’t chase specific notes. Tune each tom to where it sounds best in your room.
Mic Placement: A Simple Overview
The 3-mic approach
- Kick: Place a mic just inside the airhole, or a few inches outside it. Pointing the mic toward where the beater hits gives more click. Angling it toward the shell gives more boom.
- Snare: Place a mic about two inches above the head, near the rim, angled toward the center of the drum. Keep the back of the mic aimed toward the hi-hat to reduce bleed, the sound of other instruments leaking into a mic.
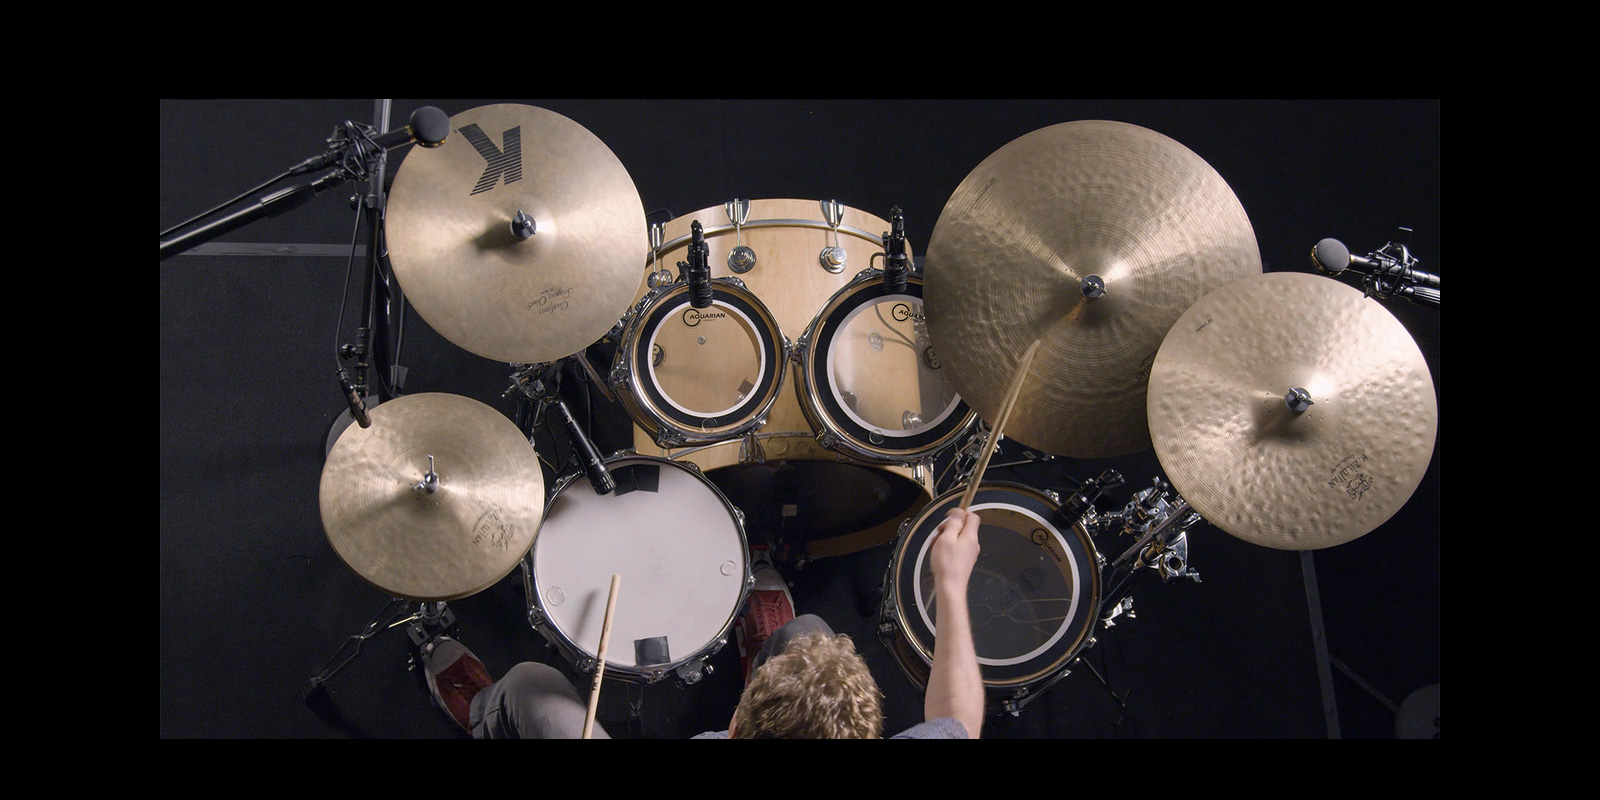
- One overhead: Place a single mic roughly three to four feet above the kit, centered over the snare. It captures cymbals, toms, and the overall picture.
The 5-mic approach
Keep the kick and snare mics, then add:
- and 5. Two overheads: Position them above the kit, one over the left side and one over the right. Measure from each overhead to the center of the snare and keep those two distances equal. Mismatched distances can cause phase problems, where the same sound reaches the mics at slightly different times and the snare sounds thin.
Kick and snare mics in a 5-mic setup work the same way as in the 3-mic setup. Before tracking, record a short test, listen back, and adjust the mics while the drummer is still set up.
Fix It Later vs. Fix It Now
You can fix later:
- Tonal balance with EQ (boosting or cutting frequencies)
- Dynamics with compression, which narrows the gap between loud and soft hits
- Overall levels and panning
- Adding reverb for space
You can’t fix later:
- Bad tuning or dead heads
- Rattles, squeaks, and buzzing hardware
- Heavy bleed caused by poor mic angles
- Phase problems from mismatched overheads
- A distorted signal from recording too hot
Spend your effort on the second list before you hit record. The first list will take care of itself.
Sources
Prepping Drums, Steve La Cerra, Tape Op Magazine
A Beginner’s Guide to Miking Drums, Bruce Kaphan, Recording Magazine