Making Your First Band Demo at Home

On this page
What a Demo Actually Needs to Do
A demo is not your debut album. It’s a clear, honest snapshot of what your band sounds like. Violet Recording describes a demo as something a bandmate, producer or publisher “can actually understand,” and frames the goal as speed, clarity and honest representation rather than a polished commercial master.
That takes a lot of pressure off. A venue booker listening to your demo wants to know a few things: Can this band play? Do they have songs? Will they fit the bill on a Friday night? A slightly imperfect recording that answers those questions clearly is worth more than a half-finished “perfect” one that never leaves your hard drive.
With a basic audio interface, a few mics and a recording program (your DAW, or digital audio workstation), you have enough to make something convincing. This guide covers the decisions that matter most.
 Via violetrecording.com
Setting Up Your Interface
Gain targeting
Gain is the input level control on your interface. It sets how strong the signal is before it reaches your computer. Getting it right is the single most common beginner stumbling block, according to Violet Recording.
Their target is for the loudest part of each performance to peak around -12 to -6 dBFS on your DAW’s meters. dBFS means “decibels relative to full scale.” 0 dBFS is the absolute ceiling of digital audio, and anything that hits it clips: the sound distorts in a way you can’t undo.
A few practical rules:
- Set levels while the band plays the loudest section of the song, not while everyone noodles quietly during warm-up.
- If the meters are slamming the top, turn down the interface gain, not the DAW fader. The fader only affects playback, not what gets recorded.
- When in doubt, record a bit quieter. Violet Recording notes that modern digital noise floors are low enough that a conservative level is safe.
Buffer size: tracking vs. mixing
Buffer size controls how much audio your computer processes at once. Small buffers mean less latency, the delay between playing a note and hearing it back in your headphones. Larger buffers give your computer more breathing room.
- While tracking: use a low buffer, around 64 or 128 samples, so the delay is small enough not to throw off players. Many interfaces also offer direct monitoring, which sends your input straight to the headphones and sidesteps latency entirely.
- While mixing: raise the buffer to 512 or 1024 samples so your computer can run effects without crackles or dropouts.
If you hear crackling during a take, your computer is struggling. Raise the buffer a notch or close other programs.
Recording Order: Build From the Foundation Up
Recording in layers keeps everything locked together and makes problems easier to fix.
1. Guide part first. Start with something that sets the tempo and structure. That could be a click track (a metronome in your DAW), a scratch guitar and vocal, or both. Commit to a tempo before anything else goes down. A scratch part is a throwaway reference that helps the other players follow the song. You’ll replace it later.
2. Rhythm section next. Drums and bass are the bedrock. If your drummer and bassist can play together while following the guide, do it, since that’s where a band’s groove lives. Running the bass direct (straight into the interface with a DI box or instrument input) keeps it clean and free of bleed from the drums.
 Via violetrecording.com
3. Overdubs last. An overdub is any part recorded on top of what’s already there. Add rhythm guitars and keys, then the lead vocal, then any solos or harmonies. If you tracked a scratch vocal during the rhythm section takes, now’s the time to re-sing it properly.
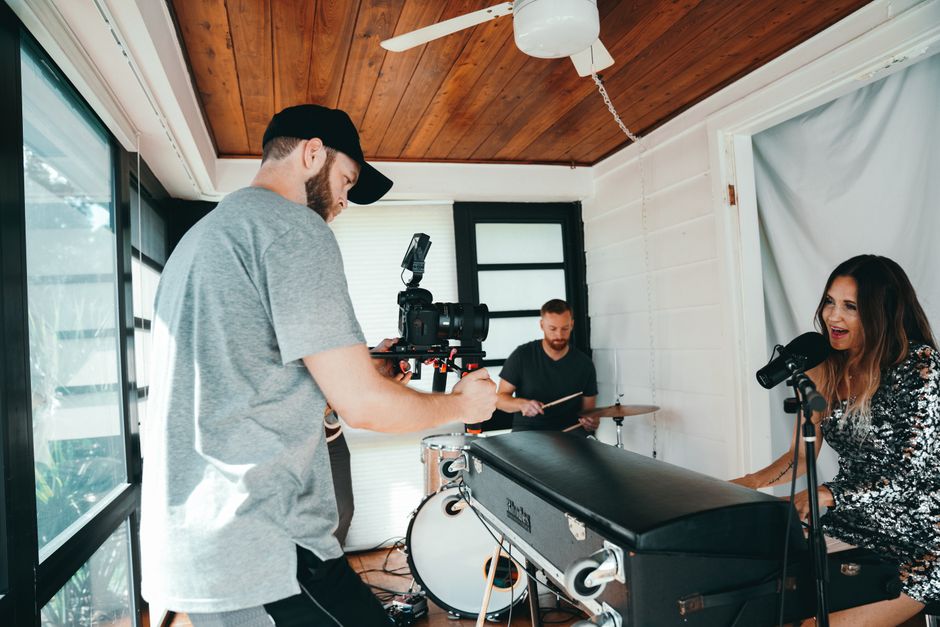
If your band prefers to record everyone live in one room, that works too. You’ll get more energy but less control, because every mic picks up every instrument. You can still overdub the lead vocal or a solo on top of a strong live rhythm take.
Takes, not punch-ins. Both Violet Recording guides recommend capturing two or three full passes rather than obsessively re-recording single lines. Pick the best take, borrow a line or two from another if needed (called comping), and move on. You’re after feel, not surgical perfection.
Keep the Arrangement Simple
Bands often over-layer their first demo with doubled guitars, extra keyboard pads, backing vocals on every chorus and a tambourine just because it’s there. The result usually sounds smaller, not bigger.
Here’s why:
- Every part competes for the same space. Guitars, keys and vocals overlap heavily in the midrange. Stack enough of them and none can be heard clearly.
- The song gets harder to follow. A booker should be able to hear the melody and the groove instantly. Violet Recording warns against piling on twenty tracks and argues that a small number of well-placed parts gets the song across better than a cluttered arrangement.
- More tracks means more mixing. More parts mean more balancing decisions, more potential mud and more hours you don’t need to spend.
A good test: if you can’t play a part live at a gig, think twice about putting it on the demo. Venues want to know what they’ll actually hear on stage. Stick to your core lineup plus one or two colour parts (small details like a lead line or a harmony) where they genuinely lift the song.
A Quick Mix
This section is a starting point, not a full mixing course. Violet Recording suggests a demo mix should take minutes, not hours.
Balance with faders first
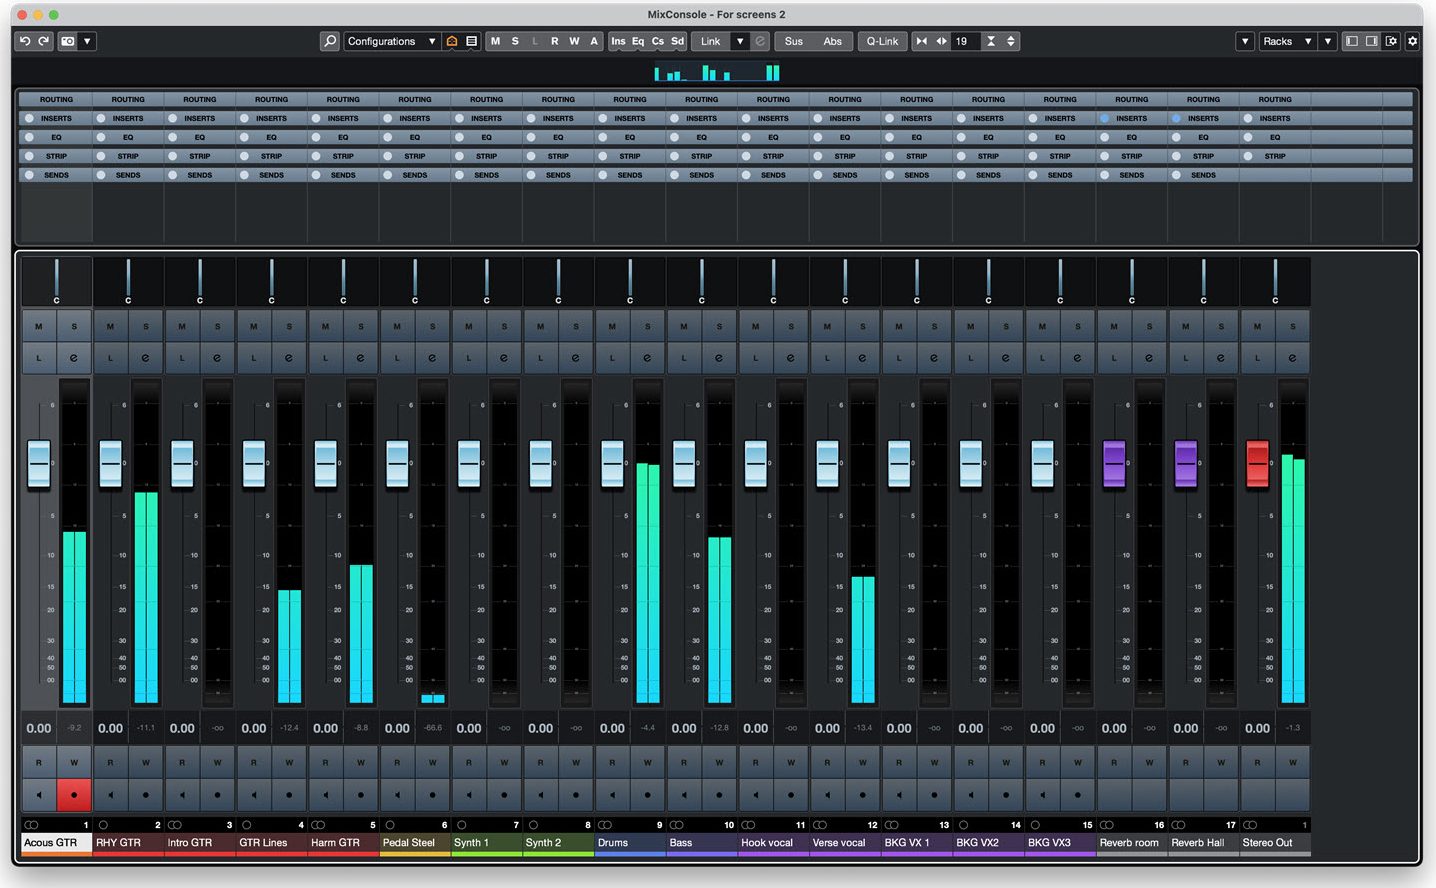
Mike Levine, writing for Yamaha, recommends a simple starting routine: pan everything to the center, set all faders to unity gain (0 dB, meaning no boost or cut), and switch off all EQ and effects. Then:
- Mute the vocals and lead instruments.
- Balance the rhythm section first: drums, bass, rhythm guitars, chordal keys.
- Bring in the vocals and lead parts on top.
Use only the faders until the mix sounds as good as you can get it. Make sure the lead vocal sits clearly on top. Most people will judge your band by whether they can hear the singer.
 Via hub.yamaha.com
Low-cut the mud
Muddiness happens when too much low-frequency energy builds up across tracks. The fix is a high-pass filter (also called a low-cut filter), found in your DAW’s EQ. It removes everything below a chosen frequency.
Violet Recording suggests high-passing anything that doesn’t need low end at around 100 Hz. Levine offers a way to fine-tune it by ear. While the track plays, slowly raise the filter frequency until the instrument starts to sound thin, then back off slightly. Vocals and guitars usually benefit. Leave the kick drum and bass alone.
A touch of reverb on the vocal can help it blend, but go easy. Levine notes that long reverb tails wash over each other and add clutter, especially in faster songs.
Export formats
When you’re happy, export two stereo files:
- 24-bit WAV: your full-quality archive copy.
- MP3: the smaller file for sharing and emailing.
Aim for a comfortable playback level that sits sensibly next to commercial songs. You don’t need maximum loudness. Before you call it done, listen on a phone speaker. Violet Recording points out that’s where most people will first hear your demo, so check that nothing vanishes.
After the Demo: Sharing It
Once the recording’s done, a few habits make it more likely to actually get heard:
- Lead with your strongest song. Busy bookers may only hear the first track, so put your best one first.
- Keep it short. Two or three songs are usually enough to show what you do.
- Make it easy to play. A streaming link or a private link to the MP3 is friendlier than a large file attachment.
- Label everything. Put your band name and song title in the file name and metadata so it doesn’t become “track01.mp3” in someone’s downloads folder.
- Include the essentials. A short note with your genre, where you’re based, a contact and any upcoming shows gives a booker context.
- Keep the WAV safe. If someone wants higher-quality audio later, you’ll have it ready.
Above all, remember what the demo is for. It needs to show your songs, your sound and your ability to play together. If it does that clearly, it’s done its job.
Sources
How to Record a Demo at Home, Violet Recording Editorial Team, Violet Recording
Top 10 Mixing Tips, Mike Levine, Yamaha Music (hub.yamaha.com)
How to Record a Band Live in One Room, Violet Recording Editorial Team, Violet Recording