What is audio mastering?

On this page
What Mastering Actually Does
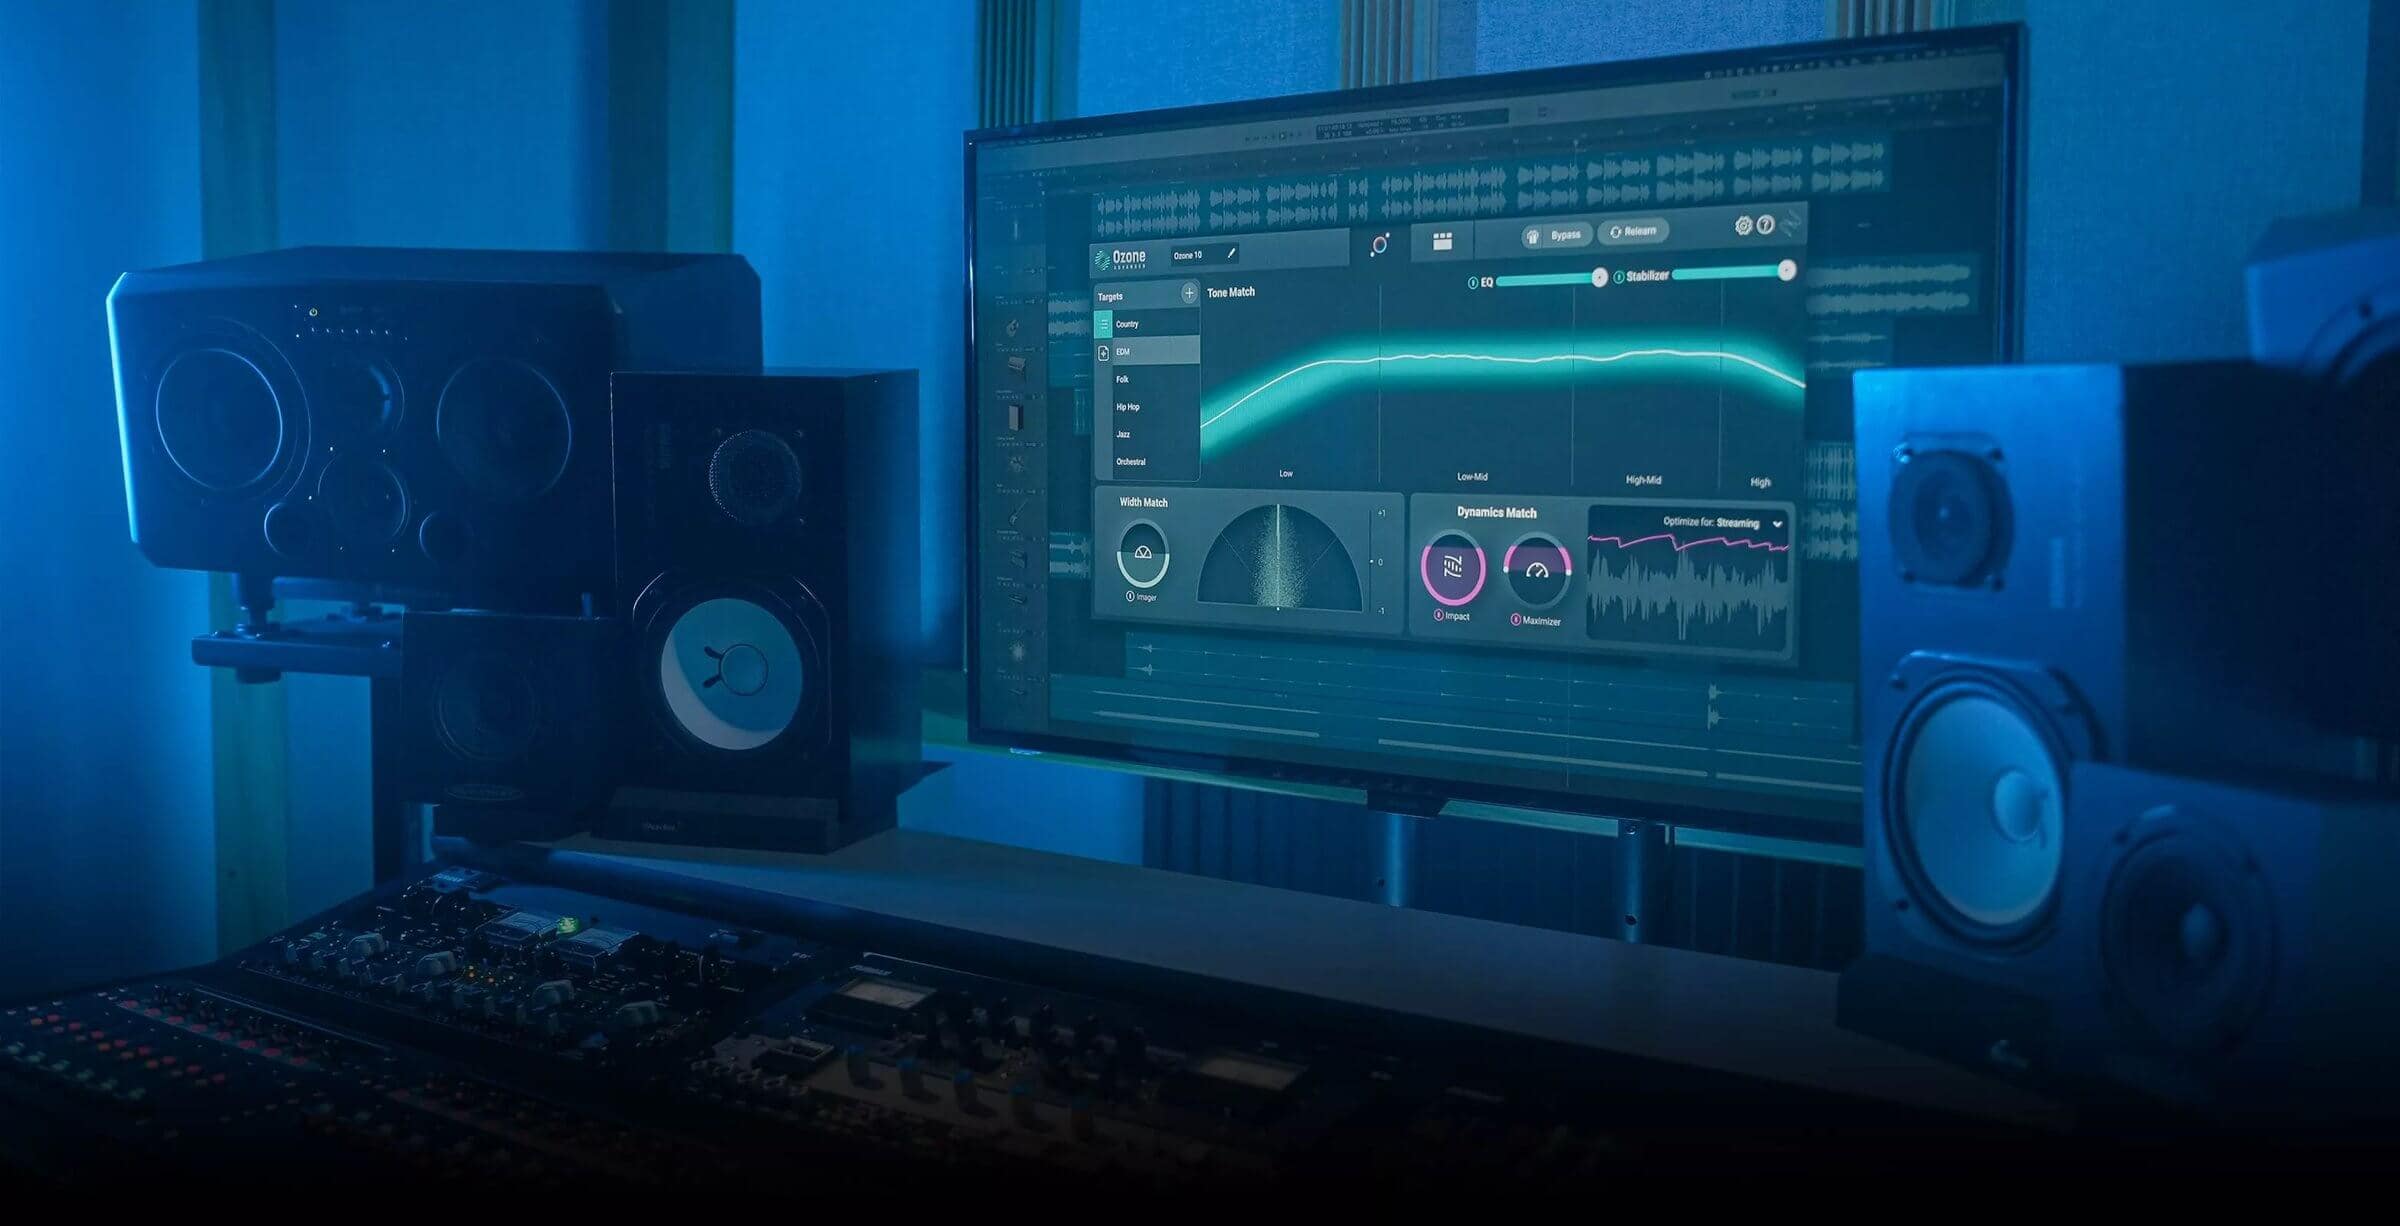
Mastering is the last pass a piece of music gets before release. You start with a finished mix and refine it: balance the overall levels, widen the stereo image where it helps, and listen for clicks, pops, or anything else that pulls attention away from the music. The goal is a clean, polished result that holds up on whatever system it gets played on.
Is it optional? Not really, if you want a record to sound finished. Mastering makes the songs on a release feel like they belong together, and it prepares the audio for the formats it will be delivered in, such as vinyl, MP3 and AAC files, streaming services like Spotify, and broadcast. That “finished” sound you hear on TV commercials, radio, and streaming playlists comes largely from this stage.
Mixing vs. Mastering
The two jobs are easy to blur together, so here is a clean way to separate them.
Mixing comes first. A mix engineer takes the individual tracks in a session (drums, bass, vocals, guitars, and so on) and shapes them so they work as a group. That means balancing the instruments against each other, fixing tonal clashes, tightening up rhythmic feel, and pushing forward the parts that matter most. The usual tools are EQ (boosting or cutting particular frequency ranges), compression (reducing the gap between loud and quiet moments), panning (placing sounds left or right), and reverb.
Mastering works on a different scale. The mastering engineer doesn’t deal with a pile of separate tracks. They listen to a single stereo file, the mixdown, and ask what the finished product needs. The answer might be a correction to the overall level or tone, or a bit of enhancement. The aim is that the music translates well on every playback system and in every format before it goes out.
If the project is more than one song, the job grows. The engineer improves each track, then also makes sure the whole album plays as one consistent listening experience, so no song suddenly jumps out as louder, duller, or brighter than its neighbors.
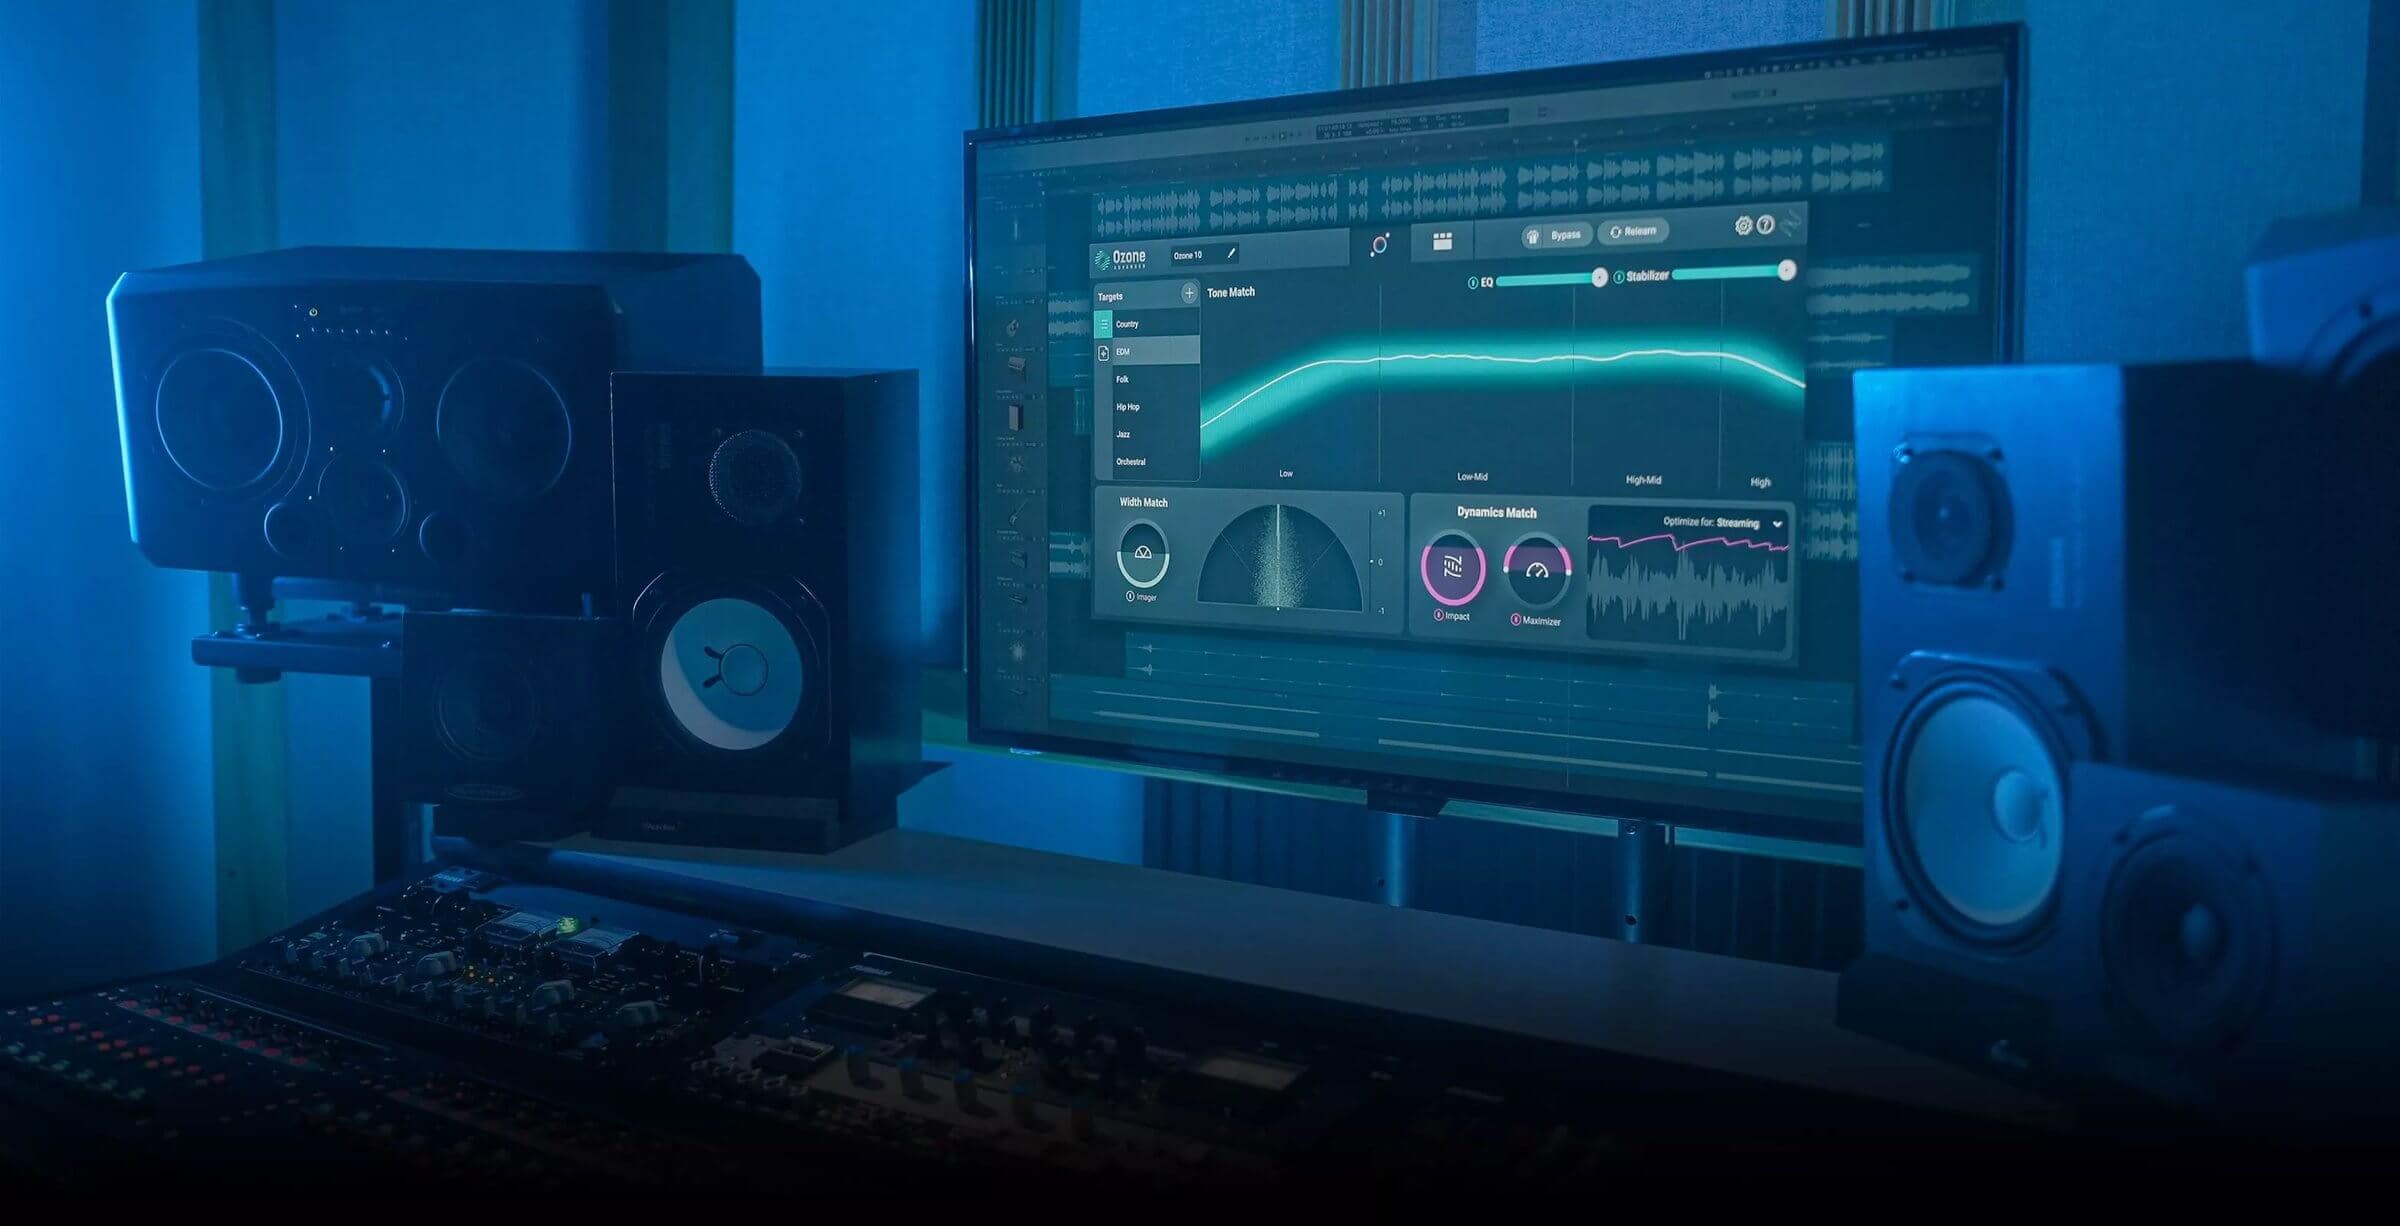 Via izotope.com
Train Your Ears on Before-and-After Examples
The most obvious sign of a mastered track is loudness. If you only notice that, though, you’re missing most of what happened. Compare an unmastered mix with its mastered version and ask yourself a few questions:
- Do some instruments sound brighter?
- Do the levels feel more even and polished?
- Does the whole thing feel more cohesive?
Those same questions are what you should be asking about your own material while you work. The source article points to a hip-hop track and an EDM remix, each with before and after versions, as listening practice. Any pair of unmastered and mastered versions of the same song will do the job. Flip between them a few times and write down what changed besides volume.
A Quick History: Why Mastering Exists
In the earliest days of recording, nobody separated recording, mixing, and mastering. Sound was captured through an acoustic horn that drove a diaphragm, and a stylus attached to it cut the performance straight into a wax disc. Those wax discs were used to make stampers, and the stampers pressed shellac-composite 78 rpm records.
Things shifted after the 33⅓ rpm long-playing (LP) vinyl record arrived in 1948, followed by the 45 rpm record in 1949. Recording moved to tape, and engineers were then responsible for preparing a master disc from the tape. That created a new problem. Loud, sudden spikes in the signal, known as transient peaks, could burn out the disc cutter head or make the stylus jump out of the groove during playback.
To handle those peaks, engineers began using dynamics tools: compressors and limiters. This was the first time that sonic adjustments were made after recording and mixing, and the work of watching those tools and setting them for good playback without damaging the sound is where mastering started.
EQ joined the conversation with the standardized RIAA curve. Its purpose was to let records be cut with narrower, tighter grooves, which meant longer playing time. It came with side effects. The pre-emphasis applied to the recording could exaggerate high-frequency transient peaks, and the de-emphasis applied on playback could boost low-frequency energy enough to knock the stylus out of the groove.
Because these tools were essential to giving listeners a good experience, people who could use them well became highly valued. Some engineers, including Doug Sax, Bob Ludwig, Bob Katz, and Bernie Grundman, began to focus entirely on this work. They cared about more than keeping the needle in the groove. They also wanted to find ways to make the listening experience better.
 Via izotope.com
Before You Master: Prep Work
There are plenty of ways to approach a master, but the basics begin before you touch a processor.
Check your files. Make sure the mixes are lossless and full resolution. The recommendation is WAV files at the mix session’s native sample rate, with a bit depth (the amount of detail captured in each sample) of at least 24-bit or 32-bit float. Don’t master from lossy formats like MP3, whatever the circumstances. Also confirm the mixes are actually stereo. Mono files sneak through more often than you’d expect.
Get the metadata up front. Ask for the artist name, song or album title, and track listing before you begin. Having these at the start keeps a session moving smoothly, particularly on a full album. Knowing the running order in advance is important for creating a musical flow from the first track to the last. Correct metadata also means your own records of the files and session are accurate, which saves you trouble when you archive the project.
Calibrate your monitoring. Set your speakers to a fixed monitoring gain, meaning the same playback volume every time. Doing so lets your ears build an internal reference for loudness and tonal balance.
Mind your gain staging. This means making sure every point in your signal chain where the signal is amplified is set so you get a good signal-to-noise ratio (plenty of music, little hiss) and minimal distortion. A simple habit can help: before each session, send a 1 kHz sine wave test tone through your analog outboard gear, which is any hardware processors in your chain, and check that the left and right channels are behaving as they should.
Where the Process Goes Next
Once the prep is done, the real mastering work begins. As laid out in the source article’s outline, that starts with deciding on the sound and character you want for the song, then moves to keeping things consistent across an album, handling feedback from the client, and getting the files ready for distribution. Treat your prep list as the foundation for every one of those steps. A well-organized session with correct files, a trusted monitoring setup, and clean signal levels makes every later decision easier to trust.
Sources
What is audio mastering?, www.izotope.com